Creating A Gallery
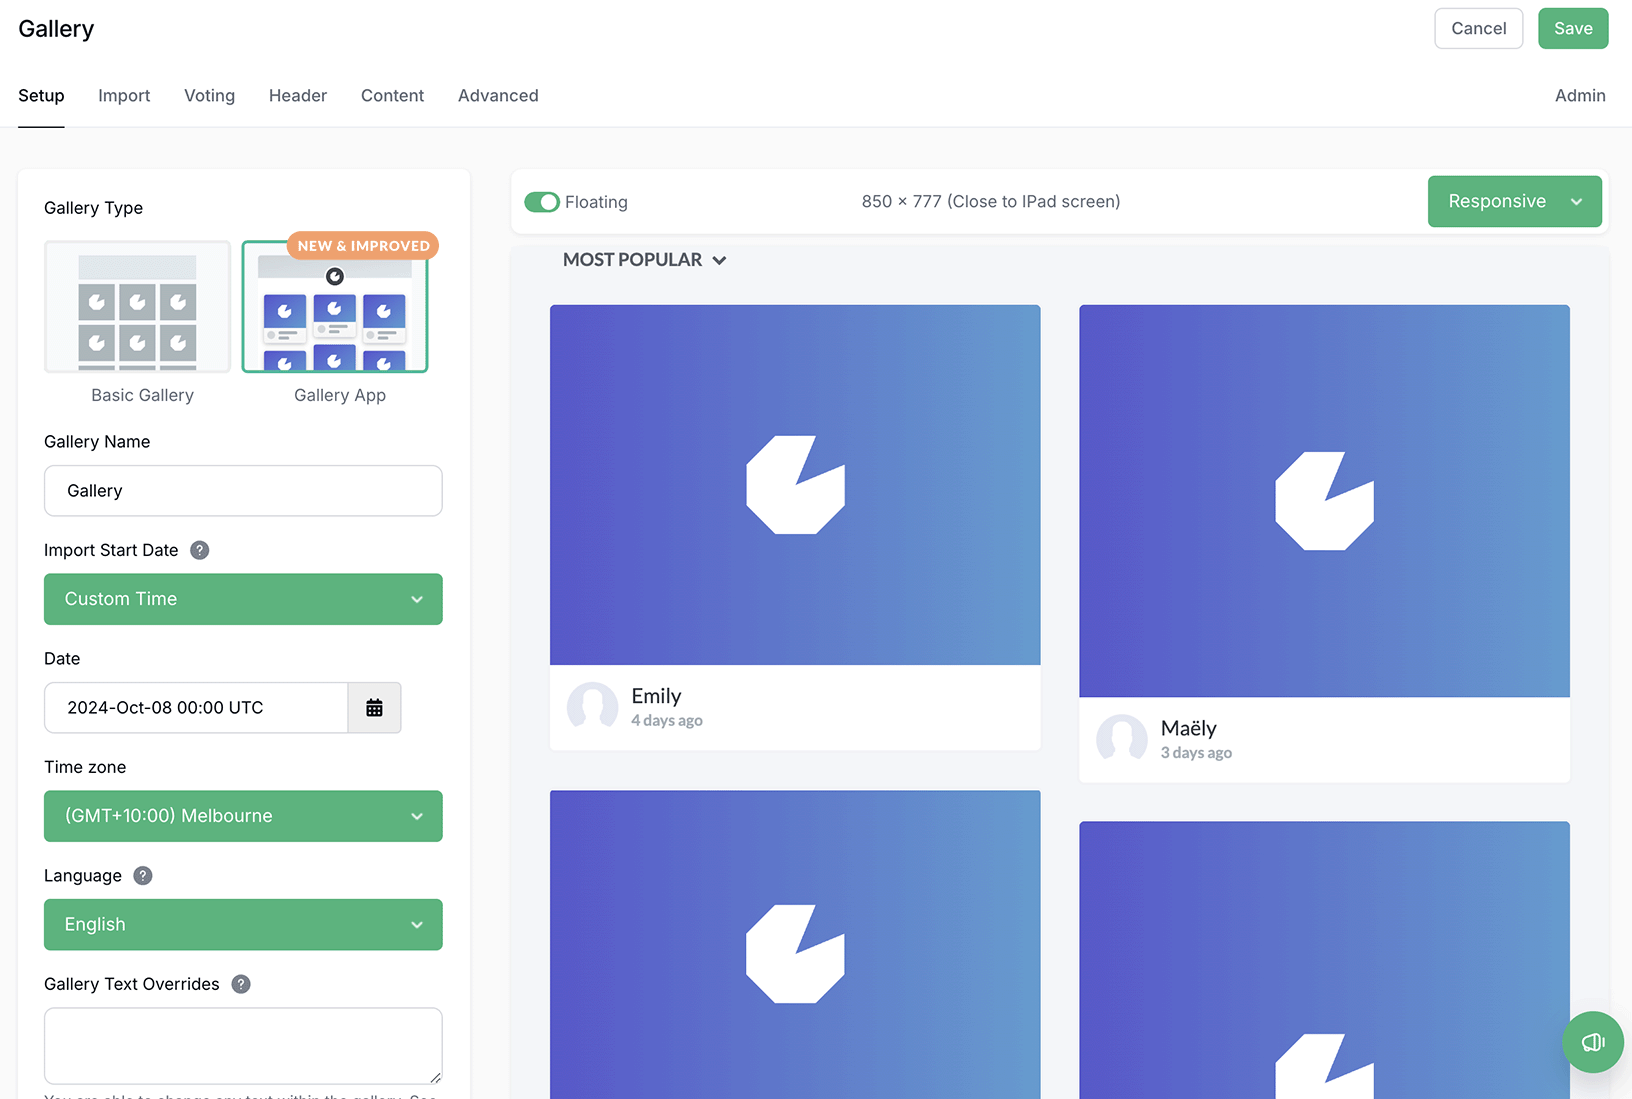
To create a Gallery just head to the Gallery tab in the left menu, then click the New Gallery button at the top right. Gallery offers a live preview as you setup each element, which means that you just need to build something that suits your brand or style.
The first tab allows you to setup much of the basic functionality of your Gallery including the:
- Type
- Name
- Language
- Sharing
- Voting
- Moderation

The type of Gallery that you're able to build will depend on your plan (Competitions & Rewards have access to the Basic Gallery).
This guide assumes that you have a Gallery plan and will be using the Gallery App.
The Name for your Gallery is an internal name that's shown on your Dashboard or when viewing your reporting.
This name doesn't show in the URL for the Gallery:
https://gleam.io/g/3hCDB
By default the Gallery will attempt to pull in as many items as it can until it hits your Historical Import limit.
You can set a specific start date for the import during setup, the Historical Import will then import either up until your limit or until the start date is reached (i.e. it won't import anything from before your start date).
You can select from any of our 27 supported languages for your Gallery. This will translate any of the fixed text in the Gallery.
You will still need to translate any of your own dynamic text for elements like the Header & Description
You are able to change any text within our Gallery. To change the text, simply add the key for the text and a value in quotes (it uses YAML layout). You only need to add overrides - don't paste the whole file in.
In the reference bundle, you see this:
gallery_no_entries: "Nothing to show yet"
gallery_most_recent: "Most Recent"
gallery_most_popular: "Most Popular"
gallery_load_more: "Load More"
gallery_link_copied: "Link copied!"
To change them, add this to the Widget Text Overrides:
gallery_no_entries: "No Uploads Just Yet"
gallery_most_recent: "Latest"
gallery_most_popular: "Most Voted"
gallery_load_more: "View More Photos"
gallery_link_copied: "Copied!"
And here's what it looks like in the Gleam UI:
The full list of text that you can override is in this downloadable file:
Enabling this option allows users to share individual Gallery items from the modal.
Users can share via:
- Tumblr
Users can also copy the unique share URL to their clipboard (and share elsewhere).
When a user shares a specific link it will link any users back to the same image that was shared, this will work on the Gleam Hosted Gallery or if you have it embedded on your own landing page.
Brands and users can also share individual Gallery items by embedding them on any page that supports HTML.
One use case for this would be running photo contests and allowing influencers to write posts around their submission and allow voting on their item from within the post.
If you enable voting then users will be able to vote on their favourite images (which you can then see in the backend leaderboard).
By default your Gallery will display all imported items. The Enable Moderation option turns on a moderation queue, which allows you to approve or reject Gallery items before they are accepted into your Gallery and displayed to the public.
When you enable moderation, items will be imported into the Pending tab of your Gallery. In the Pending tab you can view all imported items and choose to Accept, Reject, or Delete them.
You can also click on any Gallery item to bring up the moderation workflow in full-screen, and you can accept or reject items using the buttons on the screen or with the arrow keys on your keyboard.
If Gallery Moderation is disabled, it is still possible to reject or delete Gallery items from the Accepted tab if you prefer to automatically accept everything by default, then manually reject certain items.
See Next Article
Import Tab
Adding Import sources to your Gallery is how you populate it with media and other items that the Gallery displays. There are two main ways to import items into your Gallery: Importing or Manually Adding Items.