Setup Tab
Once you start a new Reward you are taken to the Setup tab. This allows you to configure some of the basic settings for your campaign.
This is a name that helps identify the reward. This doesn't appear in the widget at all, but may appear in any activation emails the customer receives, so please name it something recognisable like "Gleam 25% Discount Coupon"
This name will also determine the URL that gets generated for your default landing page:
https://gleam.io/H5eC0/gleam-25-discount-coupon
Use our easy date picker to set custom start & end dates for your reward. Clicking the green time icon will allow more granular time settings by hours/minutes.

End dates for rewards are optional, the campaign will end either when you run out of claims or when the end date is reached.
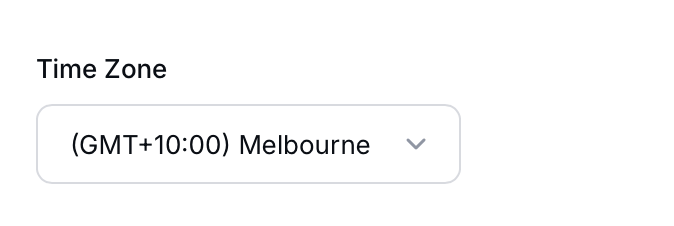
It is important to ensure the competition runs in a specific timezone, this can be completely independent from the default timezone you setup in your User Settings (by clicking your Name in the sidebar).

We use Javascript to check the user's current time settings when redeeming the reward.
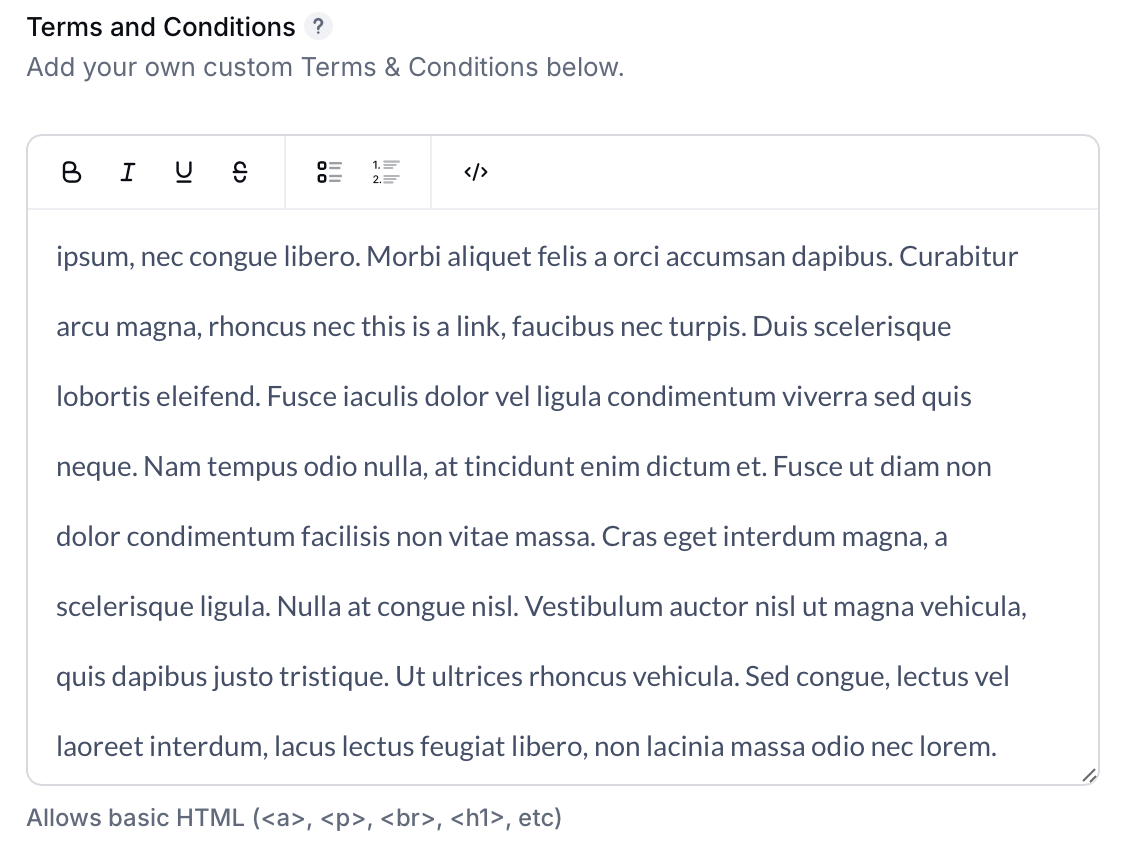
If you need to add terms & conditions to your reward you can add them here. Users will be able to read them from within the widget before redeeming.
The terms & conditions use our WYSIWYG editor or basic HTML for formatting, you can also include links, headers, paragraphs or line breaks to format things as you need:

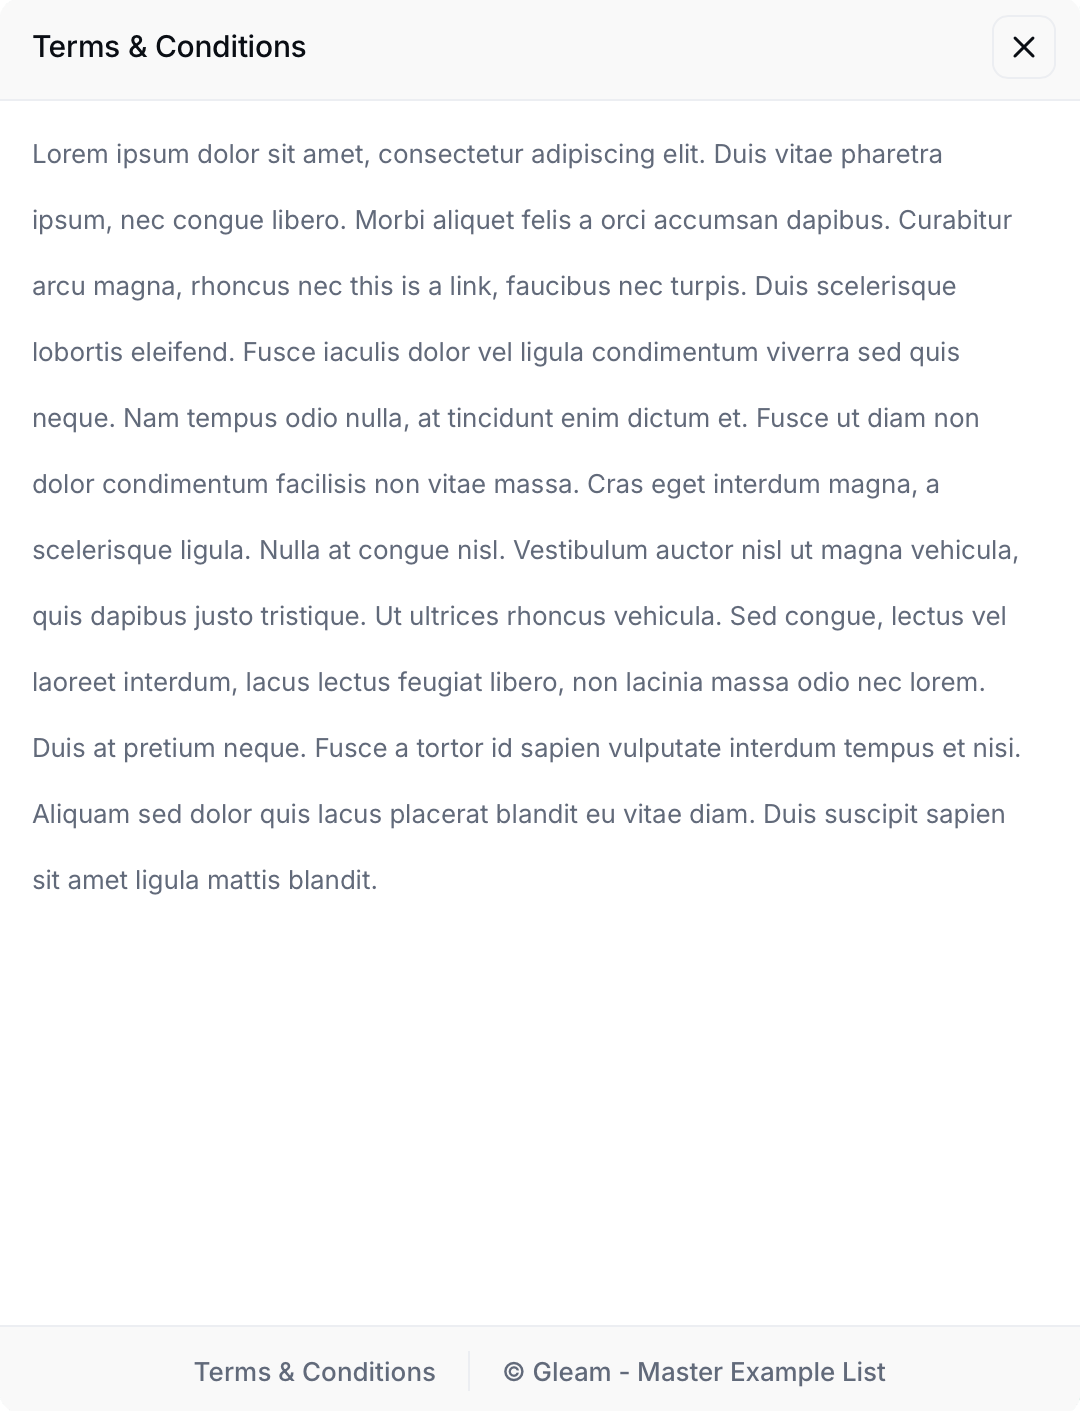
Which will look like this when a user clicks on them inside your reward:

Event Mode enables a special state for the widget that allows you to use it for events if you are getting users to redeem from shared wifi, shared devices or internal corporate internet.
This mode:
- Doesn't use Cookies to keep users logged into the widget
- Automatically logs users out based on activity or if you simply refresh the page
- Reduced fraud filter settings to allow entries from the same IP and device
- Social Logins will have reduced functionality due to the lack of Cookies, so you should avoid these Actions
This mode should only be used if you are at a live event with users entering from the same device. It will have unintended and consequences (and probably annoy users) if you enable this on a standard web based campaign.
By default this level is set to High for all campaigns. This option has a few modes for you to select:
- Off: Entries completed from the same network or device are accepted (like Event Mode), except if a user was previously banned. Users may enter with VPN, logins are not enforced (including 3rd-party logins even when entries are considered suspicious). The number of claims per IP address will still be enforced.
- Low: Basic invalidation threshold with CAPTCHA enabled, enforced logins.
- Medium: Medium invalidation threshold with CAPTCHA enabled, enforced logins, VPN is not allowed.
- High (Default): High invalidation threshold with CAPTCHA enabled, enforced logins, VPN is not allowed.
- Very High: Even higher invalidation threshold, with more aggressive Cloudflare Turnstile.
Disclaimer: The Gleam team actively monitors fraud activity on all campaigns. We may occasionally adjust your campaign's fraud level if we believe the setting is blocking legitimate contestants from entering, or if it's allowing too many suspicious entries.
By default your reward will be available to anyone in the world, you can restrict or allow entries to specific countries (not cities) using this setting.

If a user views a Reward that is country restricted this is what they will see:
We use MaxMind to determine the country of the user. On rare occasions the MaxMind database can allocate IPs incorrectly, if that happens you can get users to test their IP here & submit a change request.
We support 27 languages out of the box. Choosing your preferred language here will ensure the widget is translated into that language (this also includes emails).
Note: We do not translate the default text in actions that require text input. Just those that have fixed text like Tweet on Twitter or Instagram Visit.
You can translate your campaign into any of our supported languages using the Language field in the Setup tab of your Rewards campaign.

You are able to change any text within our widget. To change the text, simply add the key for the text and a value in quotes (it uses YAML layout). When adding text with quotes use \". You only need to add overrides - don't paste the whole file in.
In the reference bundle, you see this:
 reward_confirmation_opening_singular: "You have successfully unlocked "
 reward_coupon_data_prefix: "Your coupon to redeem this reward is below:"
To change them, add this to the Widget Text Overrides:
 reward_confirmation_opening_singular: "Thanks for unlocking "
 reward_coupon_data_prefix: "Your coupon to get 10% off your order is below"
You can add HTML to the overrides easily enough:
 unlock_heading_plural: "<i class='fas fa-lock'></i> You can get %{count} more entries - <a href='https://gleam.io'>I'm a link</a>"
 notify_other: "<p style='font-size:10px'>Sign me up to the weekly comp email, thanks (optional) - <a  href='https://gleam.io'>I'm a link too</a></p>"
And here's what it looks like in the Gleam UI:
The full list of text that you can override is in this downloadable file:
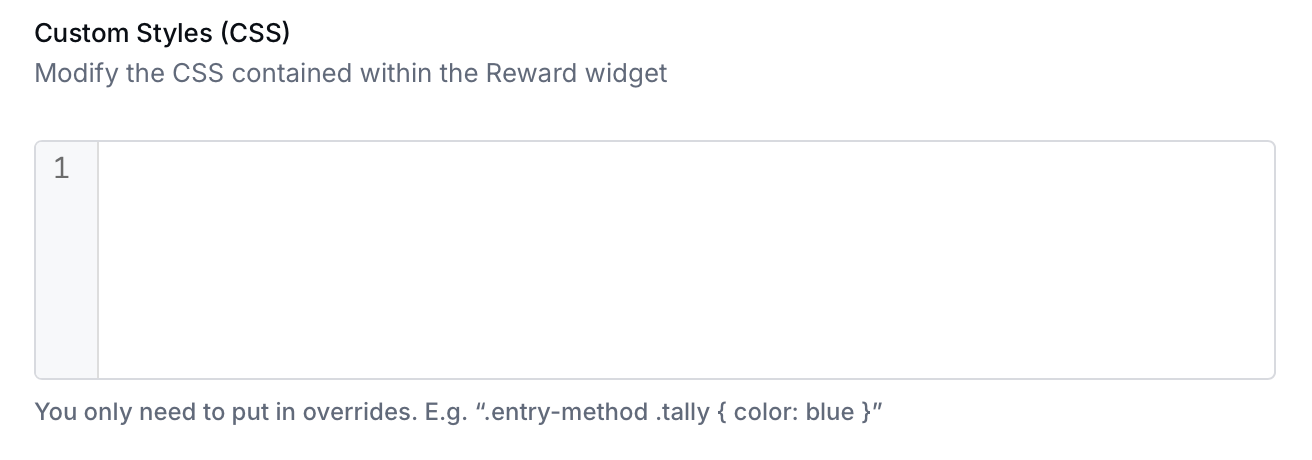
On the Business plan you can add custom CSS to your Rewards. You can use this to control almost any element inside the widget that you want, any styles added during campaign setup will affect this campaign only.

You can set global CSS Styles to apply to all your campaigns in your Site → Settings → CSS
See Next Article
User Details Tab
Rewards by default are Anonymous, unless you specifically have an action that captures user details. You can configure what kind of user details to collect in this tab.